

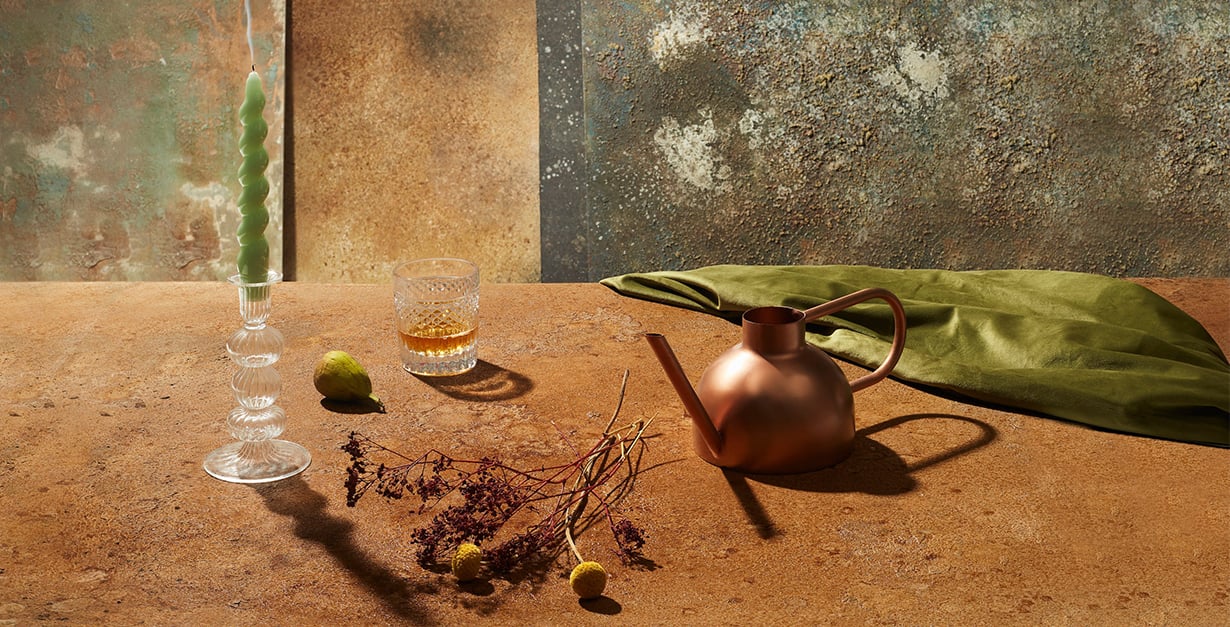
Charlie Stuart-Grumbar is a set designer and scenic artist working across film, editorial, and theater. Her passion for scenic textures led her to start her online business – PropDrop – which offers...
Tatiana Massano April 18, 2024 Questions?
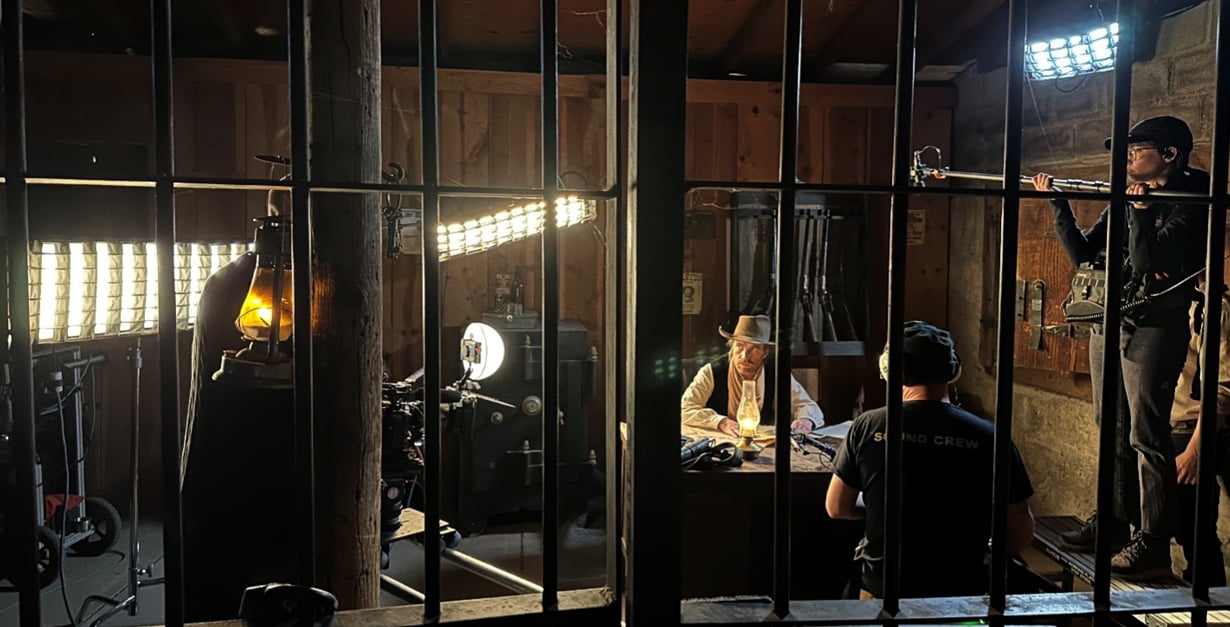
The versatility of filmmaking gear is truly put to the test in diverse and challenging filming conditions, such as shooting alongside real firelight or filming within the spatial limitations of a...
Lacey Colter April 11, 2024 Questions?
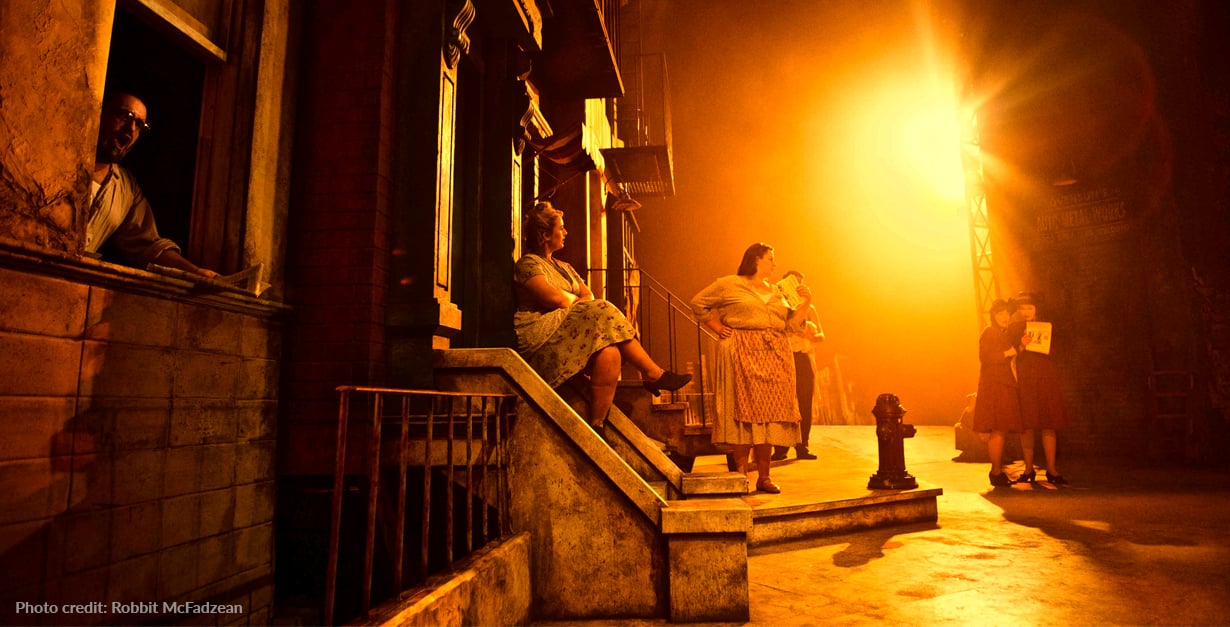
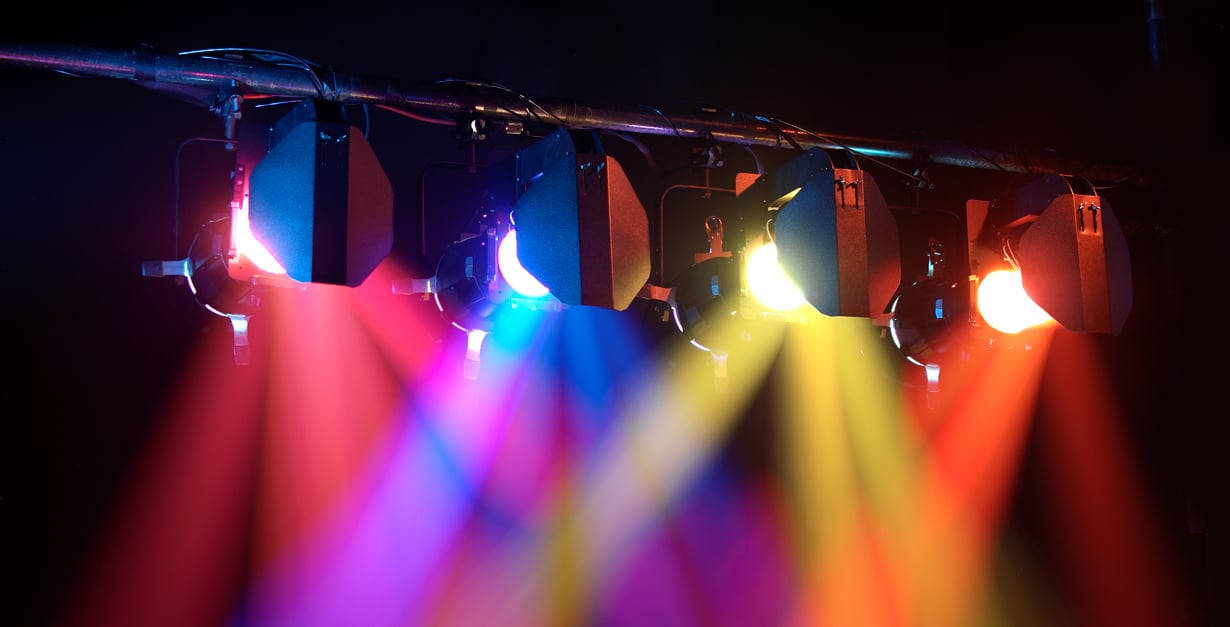
We have recently been asking our friends in the lighting design community to share their “Color Stories.” UK-based Lighting Designer and Rosco Ambassador Charlie Morgan Jones, who always delivers...
Joel Svendsen April 04, 2024 Questions?
Lindsay Webster is a theatre designer for scenery, projections, costumes, and lighting based in the greater Minneapolis/Saint Paul area. In her dual role as scenic and props designer for Gustavus...
Brittney Pecor March 21, 2024 Questions?
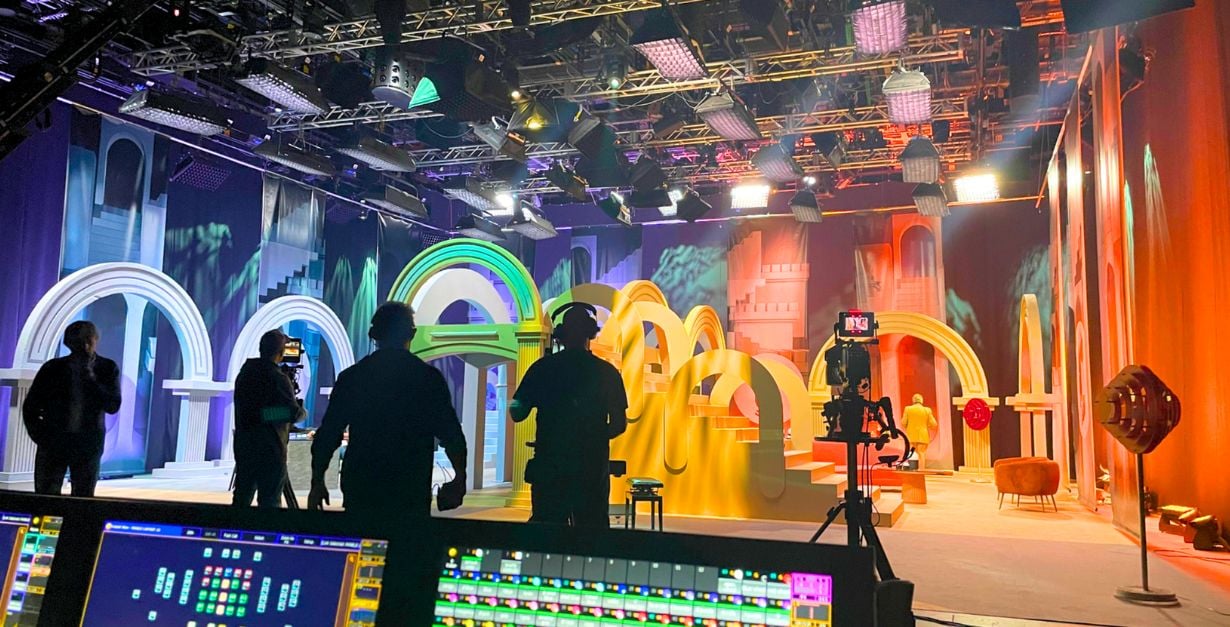
Teatr Telewizji (Television Theater) is an iconic, Polish cultural institution responsible for producing televised theatrical performances. During its seventy years of activity, Teatr Telewizji has...
Tatiana Massano March 14, 2024 Questions?
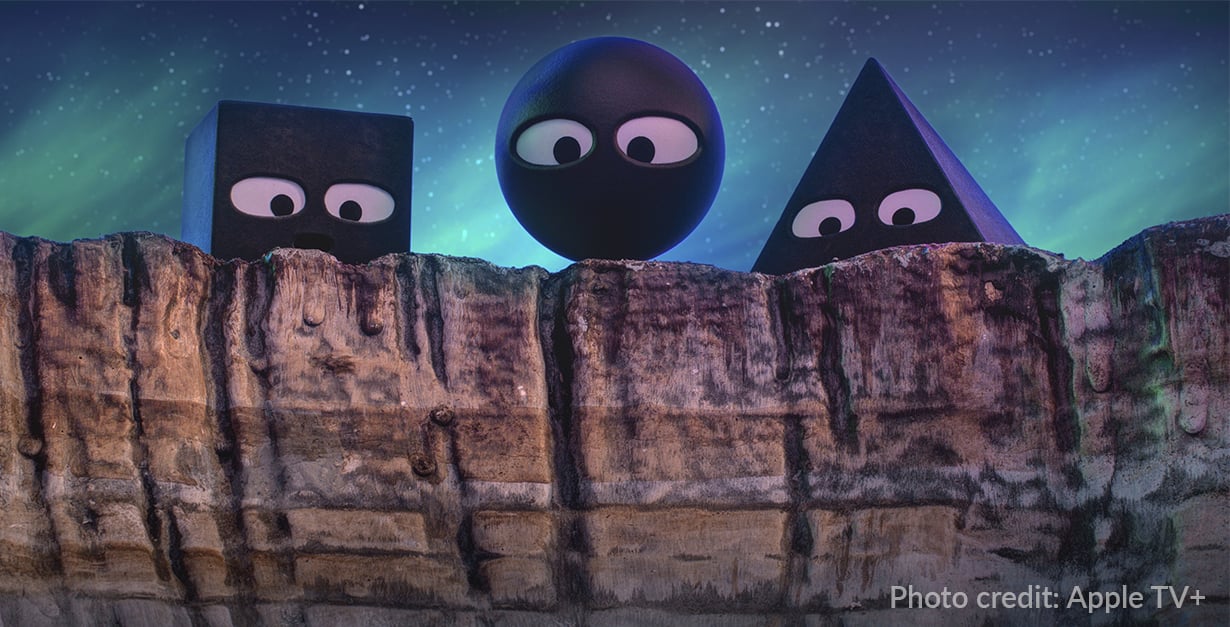
Shape Island is an Annie Award-nominated children’s series on Apple TV+ that follows the adventures of Square, Triangle, and Circle as they learn how to navigate each other’s differences. We had the...
Lacey Colter March 07, 2024 Questions?
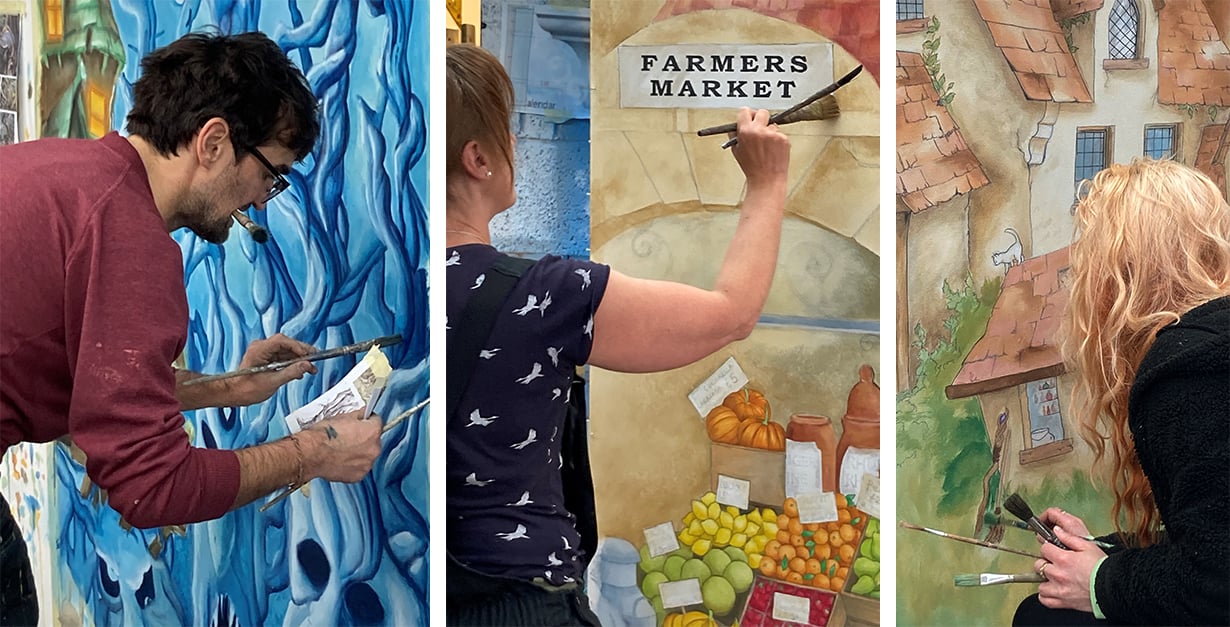
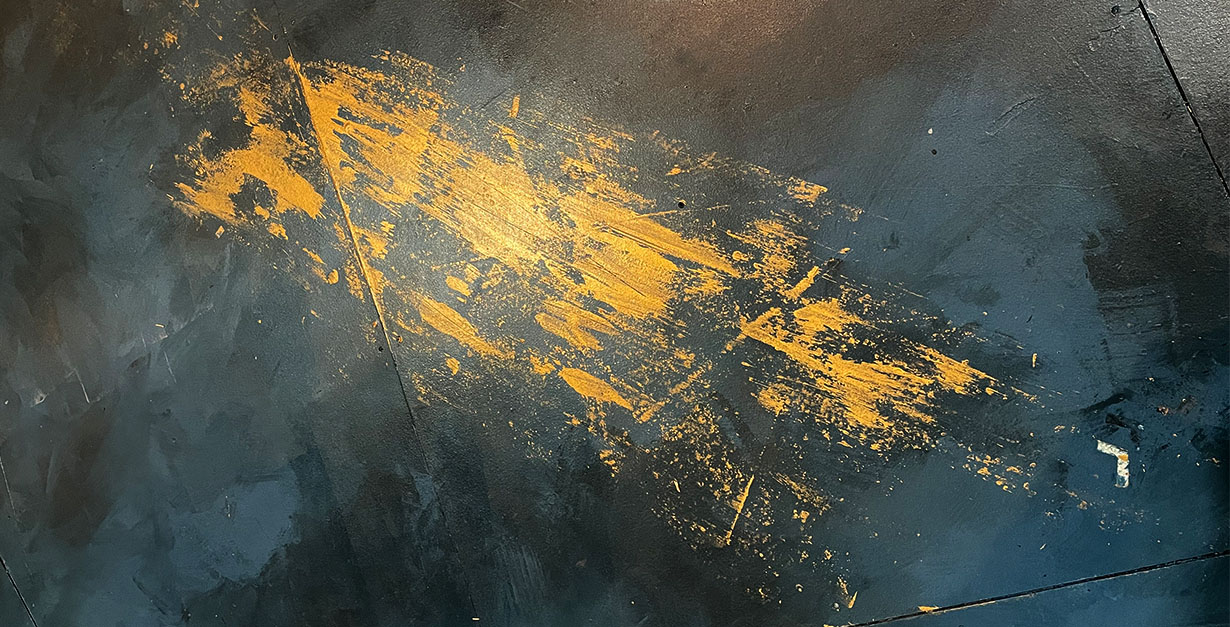
DAP Studio was established in 2004 by Scenic Artist James Rowse. Since 2009, James has offered courses in scenic art and scenic painting – both in person and online – from the studio in Gloucester,...
Brittney Pecor February 29, 2024 Questions?
Bridget K. Doyle is a Boston-based lighting designer for theatre, dance, and live events. Her recent design for Babson College’s production of Kingdom City required specific lighting cues that were...
Brittney Pecor February 22, 2024 Questions?
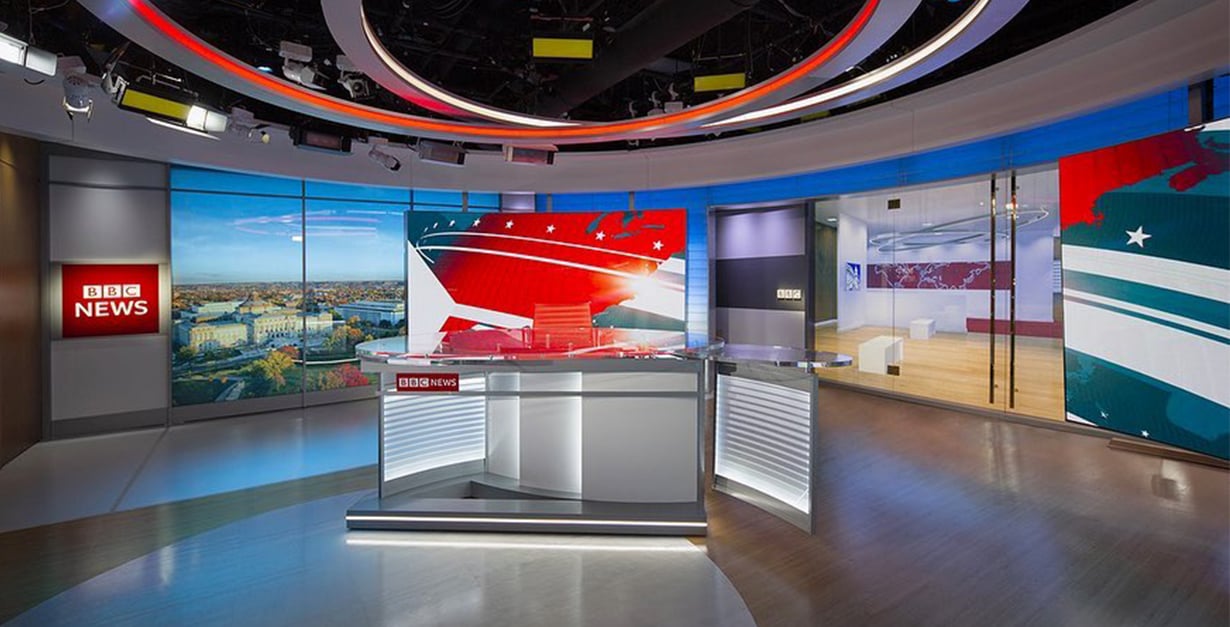
BBC World News America recently unveiled its newly updated studio in Washington, D.C. The small-scale, 360-degree studio was revamped to provide a state-of-the-art environment that blends elegant...
Tatiana Massano February 15, 2024 Questions?
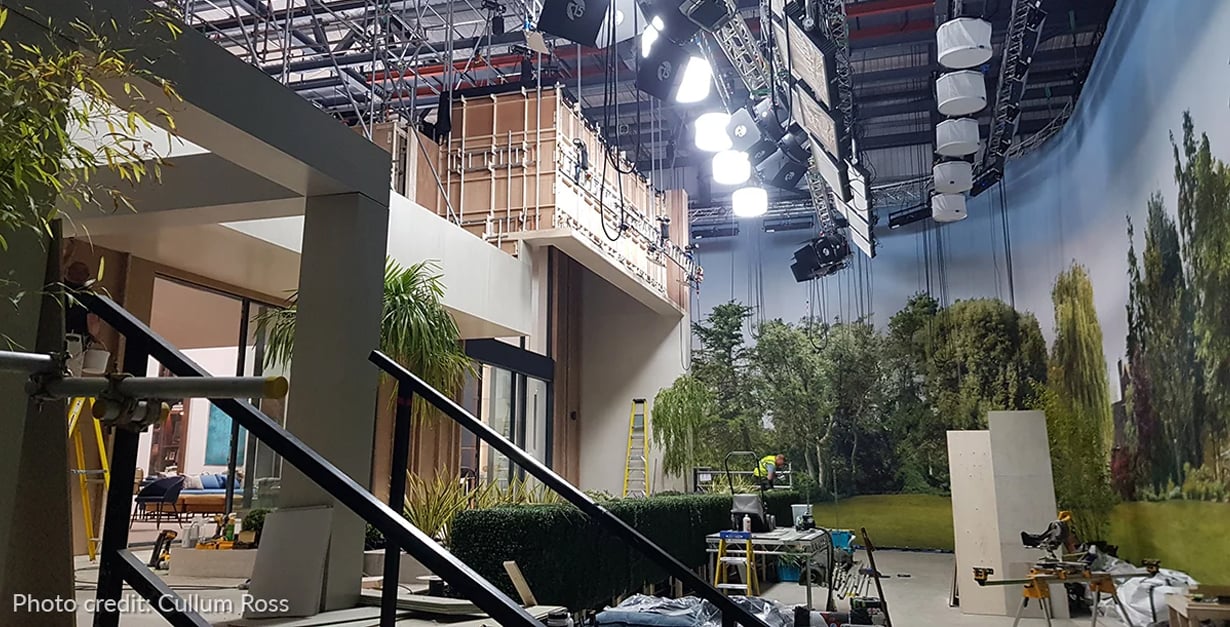
Rosco has been providing film, television, and broadcast sets with a multitude of background options for more than four decades. From traditional, large-scale printed backdrops, to blue and green...
Lacey Colter February 08, 2024 Questions?