

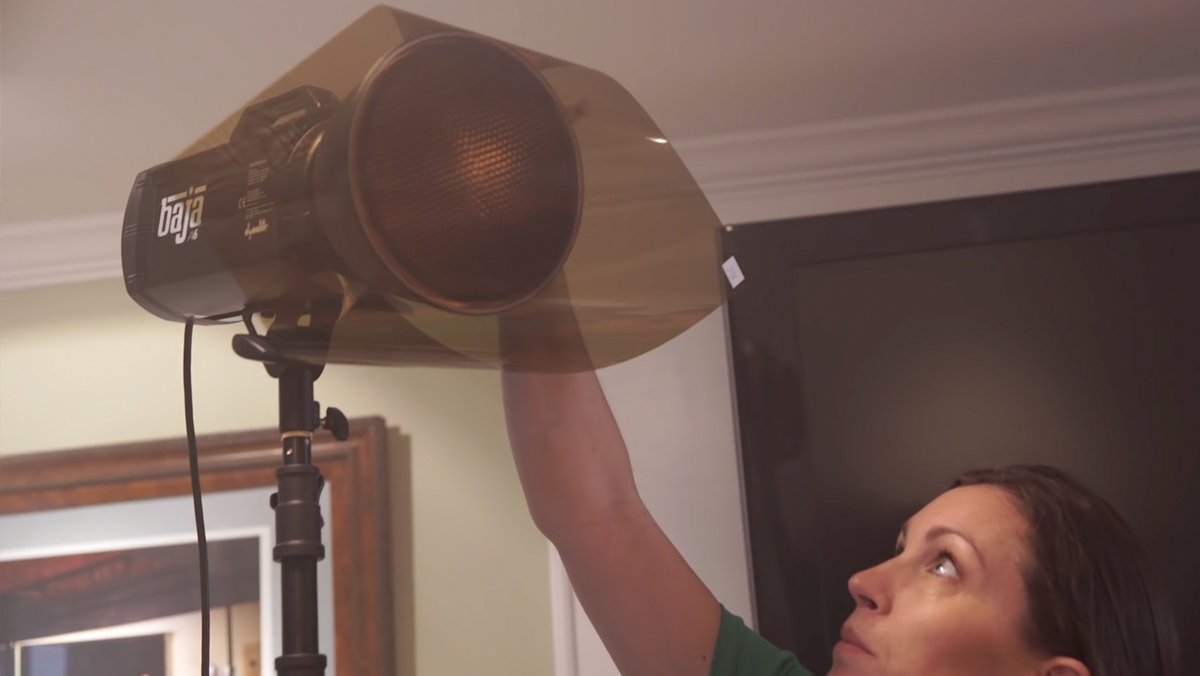
Photographer Jay P. Morgan from The Slanted Lens posted a helpful photo-tutorial showcasing how changing the color of the light in the shot enhanced his images. Watch the video and see how, by simply swapping the Rosco gels on the light behind the subject, Jay P. was able to "completely change the look" of his images.
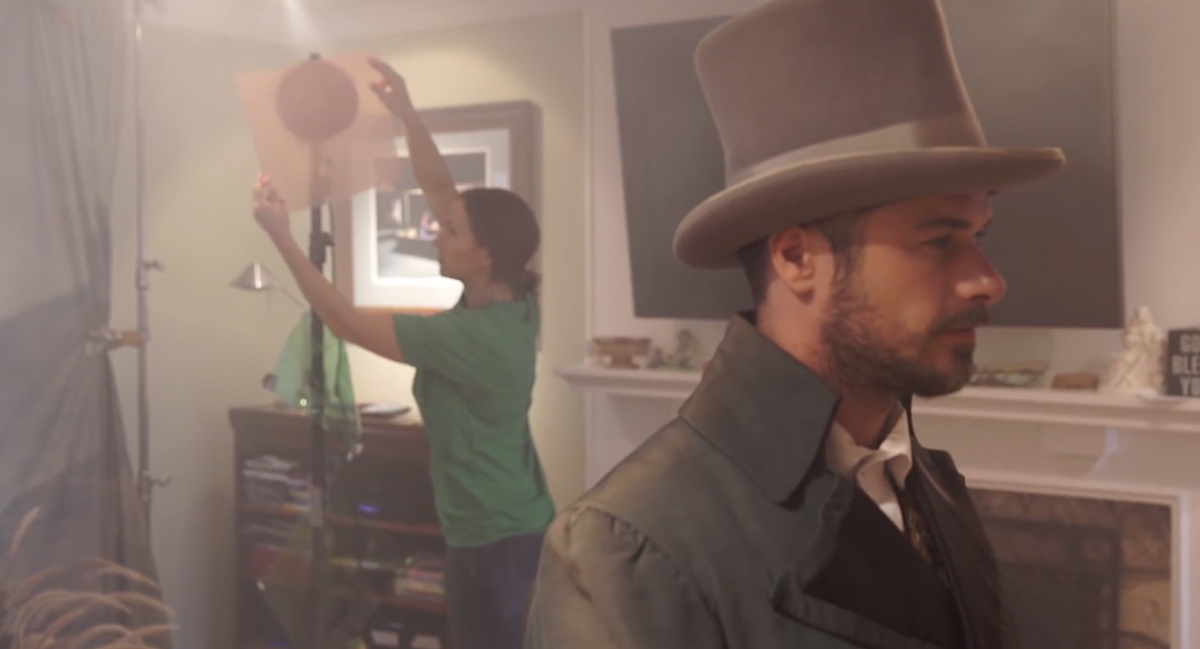
Jay P. instructs that adding gels to the rim/back light gives you, the photographer, more control as to where the color goes. If you added it to the key light, everything in the shot would be lit in that color. Jay P. also notes that keeping the color on the back light helps "create an atmosphere in the room."
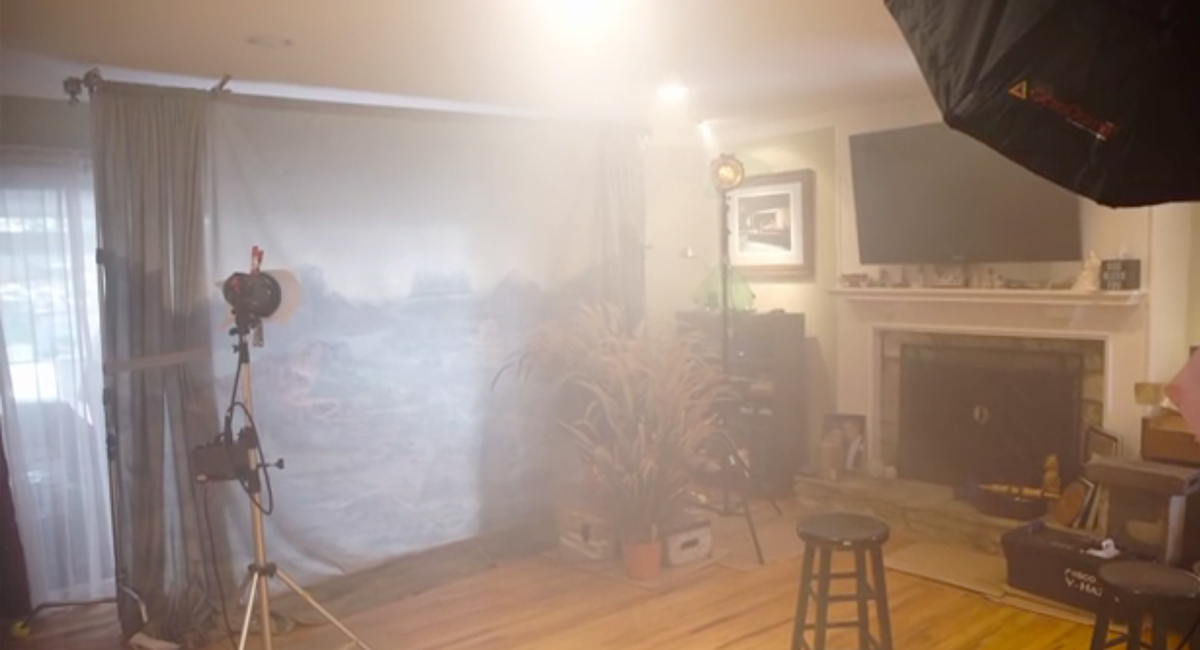
We've shared examples from The Slanted Lens before about how to use fog/haze in your photography. In this case, Jay P. notes that adding color to the background of your shot is much easier if there is fog or haze in the air to reflect the colored light back at the camera. Without it, you'd have to reflect the light off of your background instead, which would result in a completely different look. For this setup, Jay P. liked how adding haze into the frame gave him more power to adjust and soften the color palette in the room. While any Rosco Fog Machine would have worked, for this photo shoot he used a Rosco V-Hazer, which enabled him to easily produce and maintain a smooth atmospheric haze in his shot.
When choosing the right gel for your shot, start by looking at the color palette of the elements in your composition. From there, you can explore the Rosco Color Filter Range and select a few gel colors that will enhance the set, clothing, and subject of your shot. Jay P. likes to "audition" a bunch of colors to see which one he likes, but he also suggests limiting the number of gels you're exploring so that you don’t get too carried away.
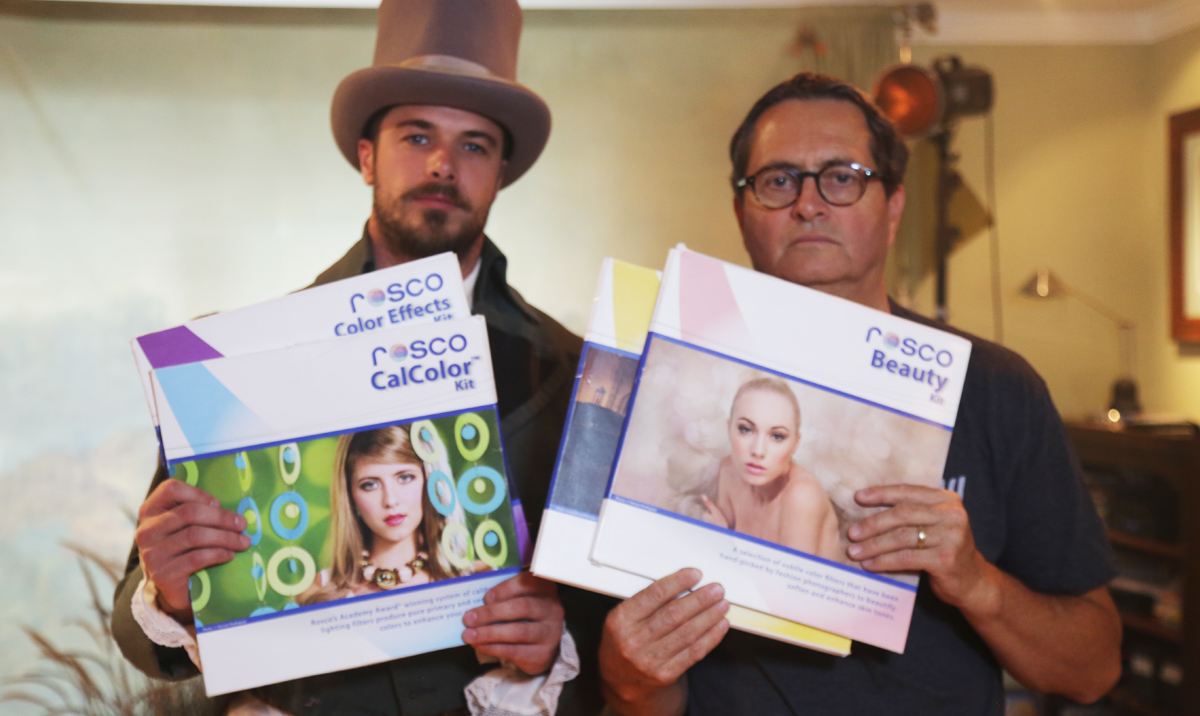
One way to limit the number of colors in your palette is to use our gel kits! Each of the Rosco Filter Kits offers a selection of gels that have already been photographer tested & approved! The kits are lightweight and mobile, and you can easily mount the 12"x12" (30cm x 30cm) gels found inside onto your light and quickly swap them in and out to test each color in your shot.
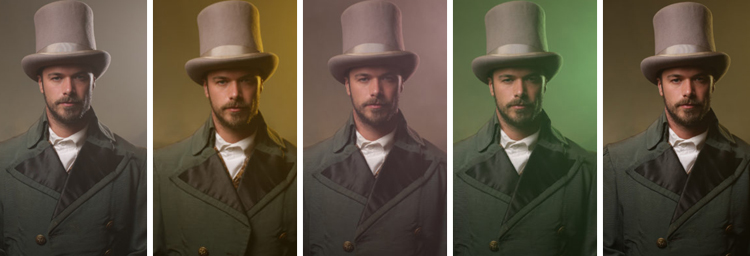
Take a look at some of the colors Jay P. auditioned for his "Oliver Goodwill" photo shoot.
The two greens came out of the CalColor Filter Kit, the warming filters came out of the Digital After Dark Filter Kit and the pair of pink gels came out of the Beauty Filter Kit.
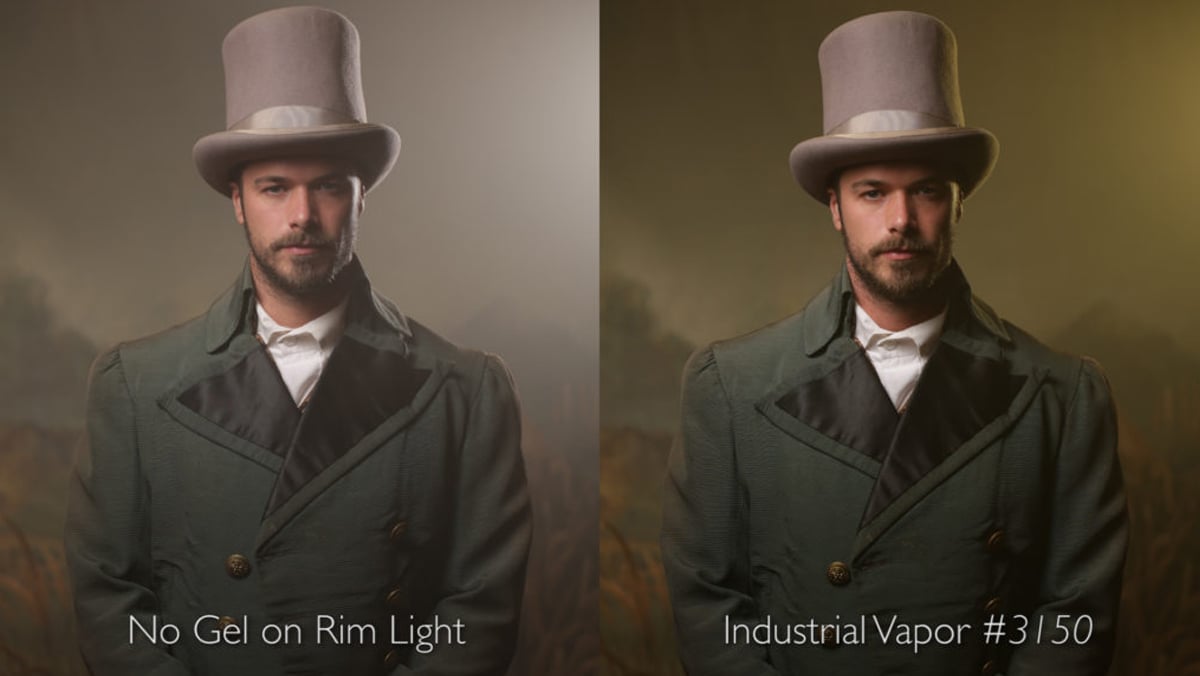
In the end, Jay P. chose Rosco #3150 Industrial Vapor (also from the Digital After Dark Kit) as the perfect back light color for this shot. The yellow-green tones of this filter allowed him to add warmth behind the subject while accenting the greens in the background. Which color did you like best? Let us know in the comments!
Be sure to have a look at the original tutorial on The Slanted Lens to learn more about the colors Jay P. worked with. If you'd like to begin using color in your photography, please visit the Rosco Filter Kits Product Page to see all of the different gel kits we have available for your next photo shoot.
Chanda Goldsworthy August 01, 2017 Questions?