

Looking for a cheap and simple way to produce large-scale wood grain textures with ease? Scenic Artist Terra Writz and the scenic paint crew over at South Coast Repertory Theatre have got your back with this easy, step-by-step tutorial on how to make your very own larger-than-life graining tool. This tool was a crucial part of their process painting the stage floor for South Coast Rep’s production of Sweeney Todd, designed by John Iacovelli.
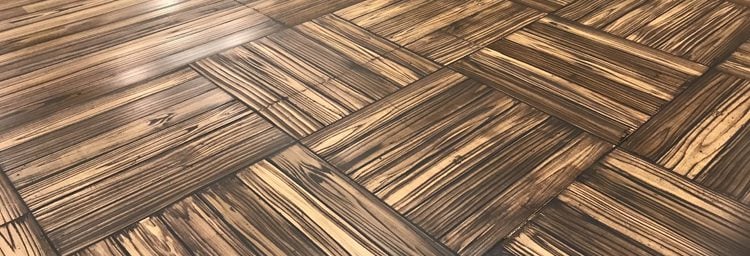
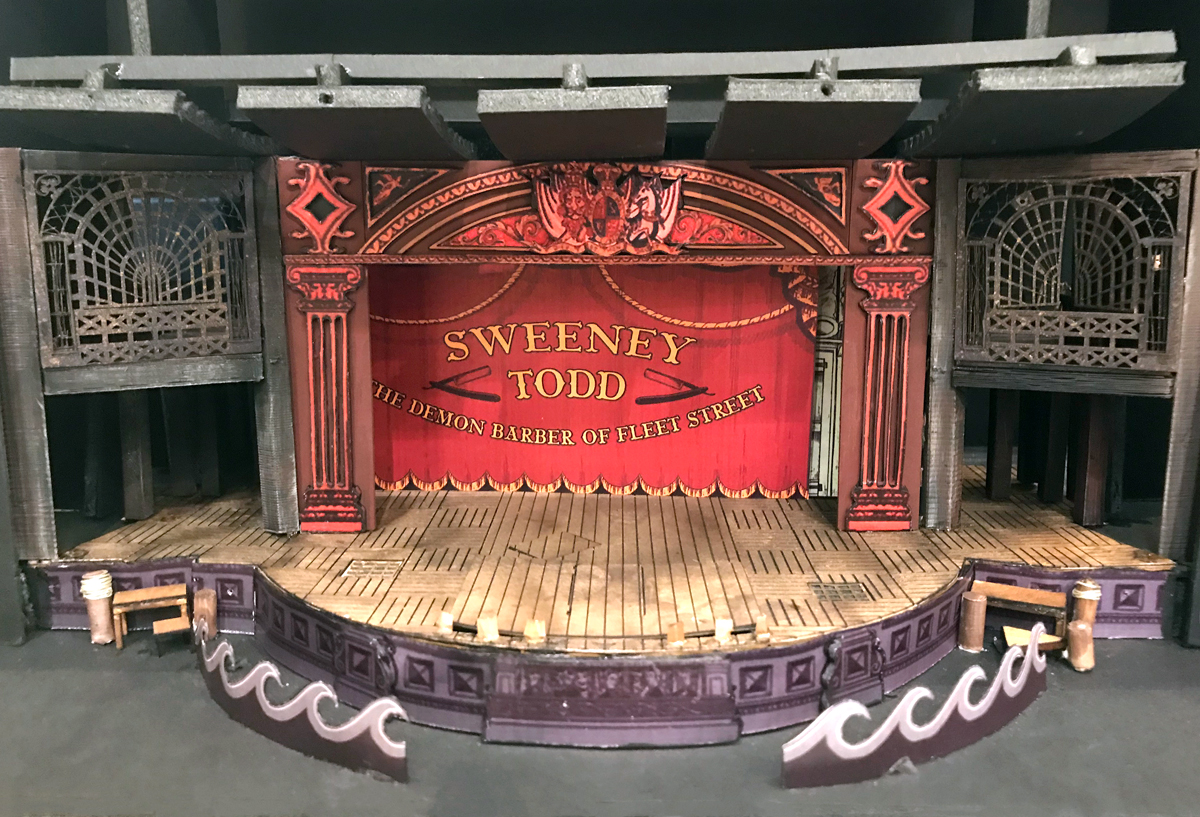
Modeled after a Victorian toy theatre, our set was a recreation of the detailed paper boxes popular with 19th century children that would recreate their favorite productions for amusement. This included a parquet wood floor with a larger than life wood grain. This was agreed upon in verbal discussions with the designer, although it is not apparent in the model shown below.
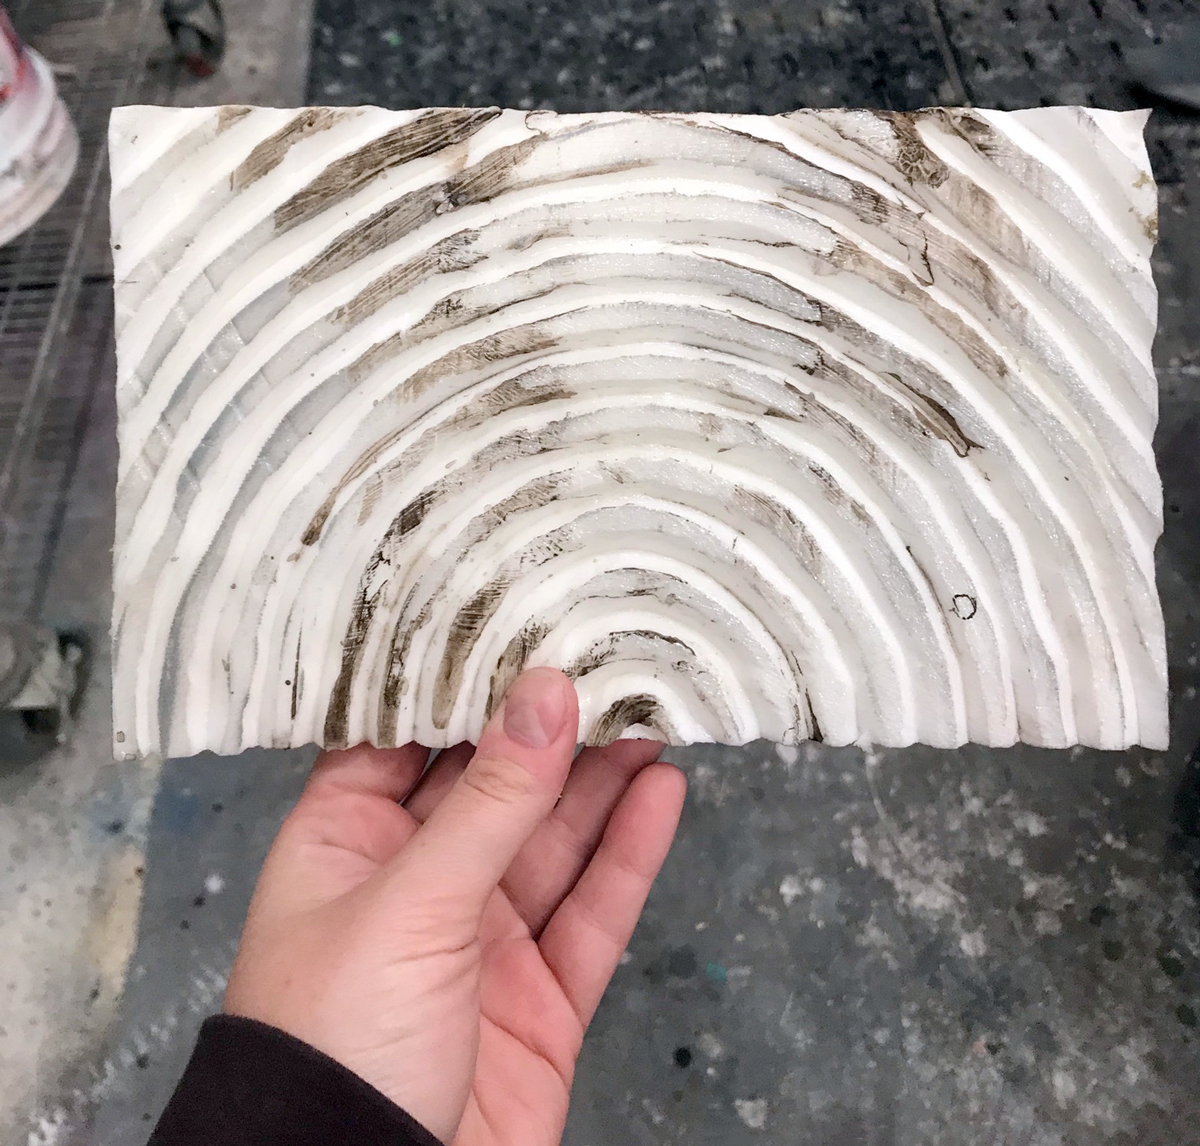
 Our planks measured roughly 6" wide and we took this measurement into account when designing our wood grain patterns. To start, we made an ink impression of each of the smaller wood grain tools we owned that we wanted to recreate on a sheet of paper. Next we enlarged the image with our copier until it filled our 6” wide template. This design was then transferred to a piece of ½” upholstery foam. We cut the pattern out of the foam with a blade, and then applied multiple coats of Rosco CrystalGel to the foam piece for durability – being careful not to fill in the valleys of our wood grain texture too much.
 Next you will need to prepare the base of your tool. You will need a 5’ long dowel, a 4-6” wide piece of PVC cut to match the width of the foam piece you made in step one, two L-brackets, some two-part epoxy, and a hole saw/drill bit the size of your dowel. Drill a hole in the center of the PVC, coat the ring of the hole and the opposite side of the PVC interior in 2-part epoxy. Insert your dowel and find a way to keep it locked in place while the epoxy dries. Add L-brackets on either side of the dowel for extra support. We also added an extra layer of Gorilla tape for increased durability.
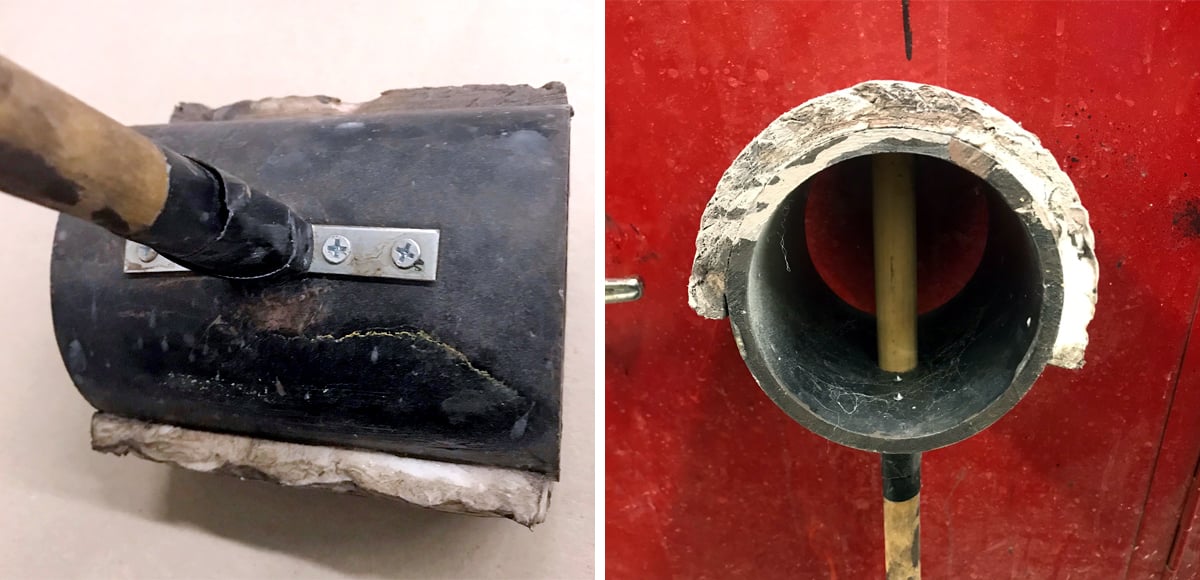 Now it’s time to apply the foam piece you built in step one. Set your tool on the ground, holding the dowel at roughly a 45° angle from the ground. This is the angle you will most likely do most of your dragging at, so make a note of where the PVC meets the ground and use that line to guide the placement of your foam piece. We used Gorilla Glue Heavy Duty Spray Adhesive on both the PVC and the back of our foam piece. Reinforce the two working edges with small screws.
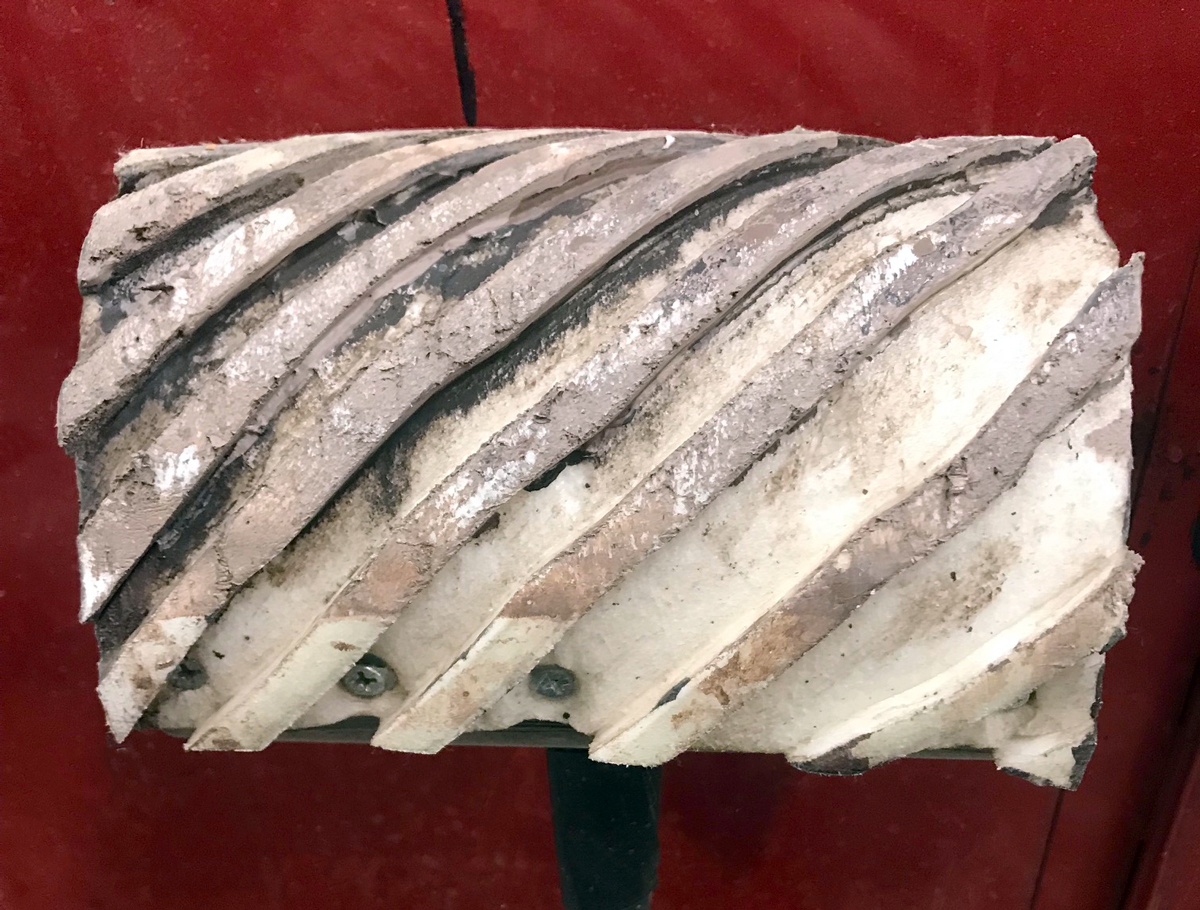 And we’re finished! Have fun creating different patterns on your tools to make different grain patterns and remember that you can drag it from either direction for increased variety.
 |
 |
 |
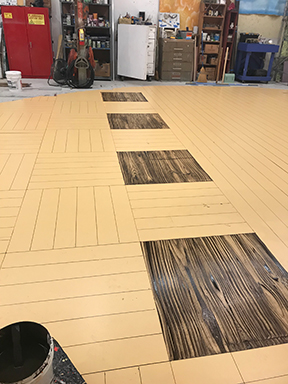
As for our application technique, first we based our floor with a neutral wood-tone, and then we covered it with a layer of water-based clear coat – aiming for something stronger than satin for a slick working surface. Once the final base-coat had dried, we began graining. We worked on top of our coated surface with a mixture of thinned Rosco Off Broadway Burnt Umber + Van Dyke Brown paint. One scenic artist applied a quick and thick coat to each panel, while a second scenic pulled it away with the wood grain tool – slowly rocking the tool at different angles while dragging it towards them. Keep in mind for a parquet design you will need to mask off sections that you can drag past for a clean and complete plank.
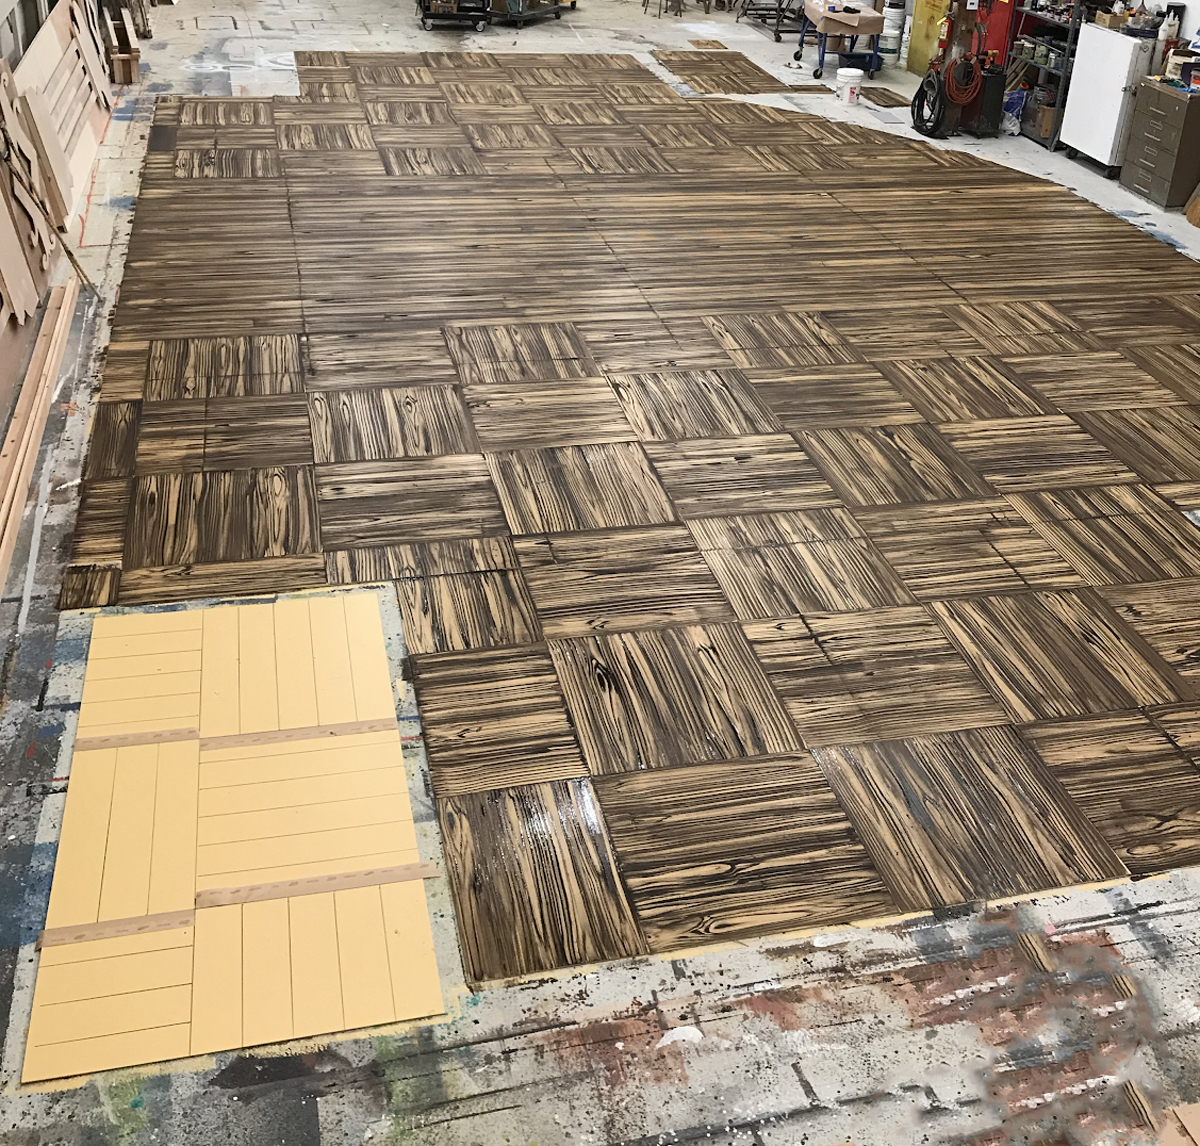 After the graining process was complete, we added toner glazes on top and lined our parquet planks with Rosco Supersaturated Velour Black paint.
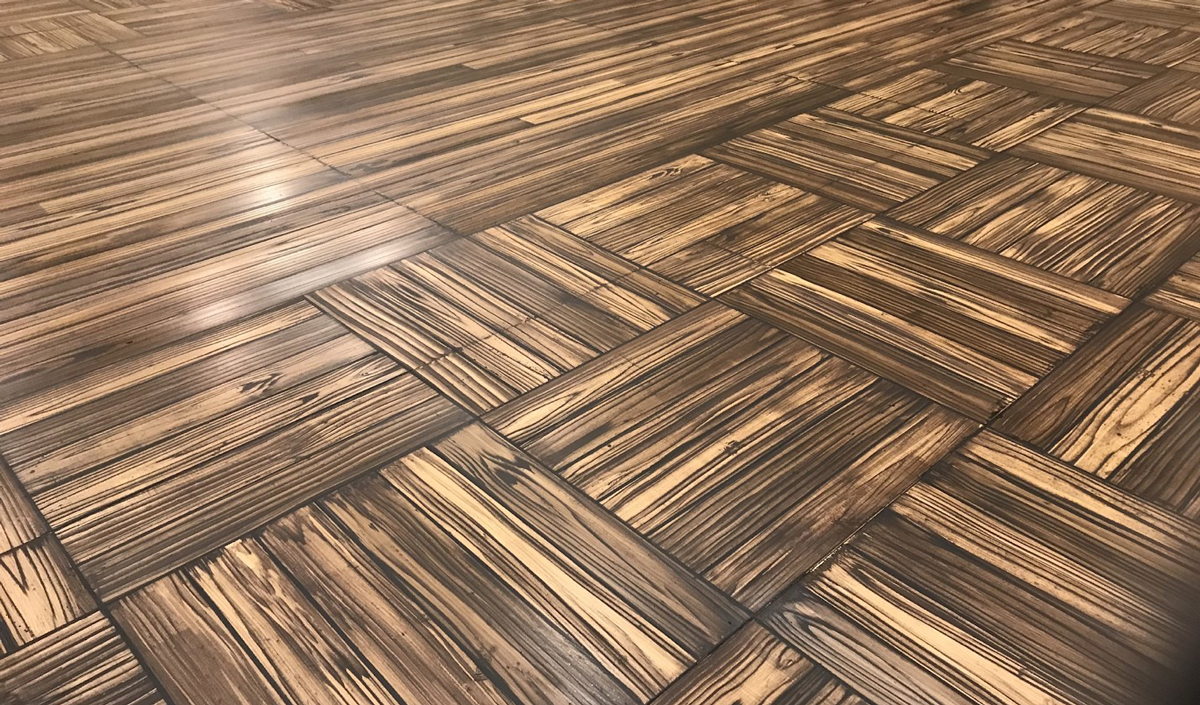 While the contrast may seem extreme under our fluorescents, the stage light brought out the richness and texture of the graining and helped solidify the artistic style Iocavelli was aiming for with his design.
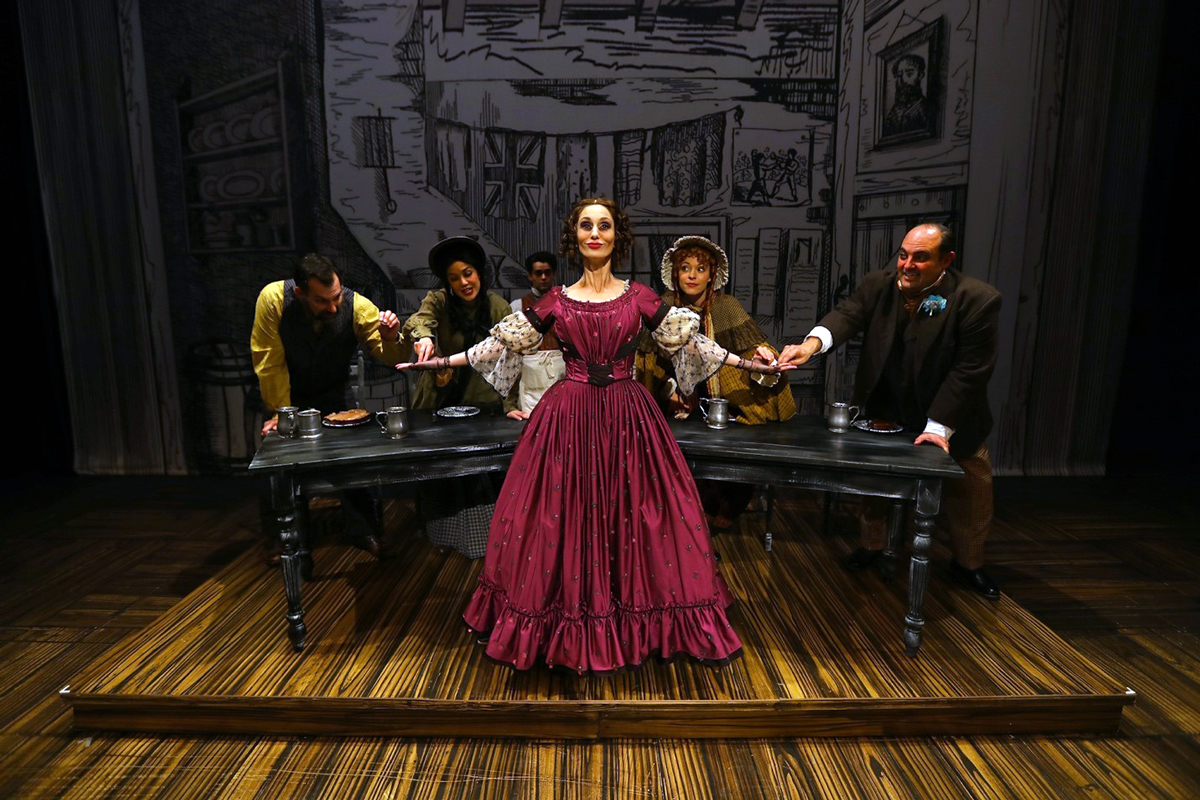
A stage shot from South Coast Rep’s production of Sweeney Todd
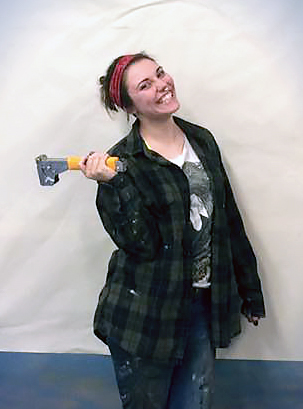 Terra Writz is currently working as a Scenic Artist for South Coast Repertory Theatre in Orange County, CA. She previously charged at The Black Hills Playhouse and is a proud Cobalt Studios Alum. To view her work, please visit her website: tmwritz.wix.com/scenicart.
If you’d like to learn more about the Rosco scenic products Terra mentioned in this article, you can visit the CrystalGel product page and the Scenic Paint page on the Rosco website.
Jenny Knott December 19, 2019 Questions?

Scenic Paint & Coating Product Manager: A graduate from the University of Missouri, Kansas City with an MFA in Design and Technology, Jenny has been a freelance scenic artist for over 30 years – working for regional theatres including Missouri Rep (now KC Rep), Arena Stage, the Guthrie and Goodspeed Opera House as well as union scene shops. Jenny is a member of United Scenic Artists 829 as well as a past member of USITT’s Board of Directors. Jenny continues to paint, which keeps her current with emerging scenic artists and helps her discover new ways of approaching paint challenges. “Bring on the goop and let’s get creative.”