

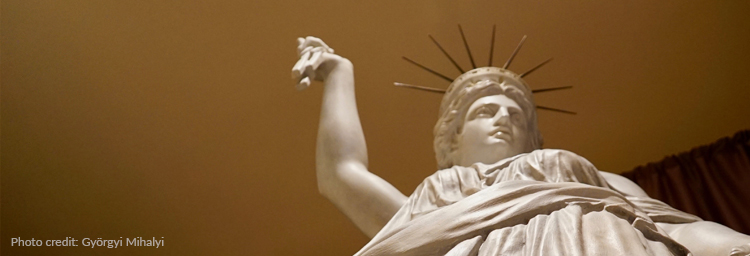
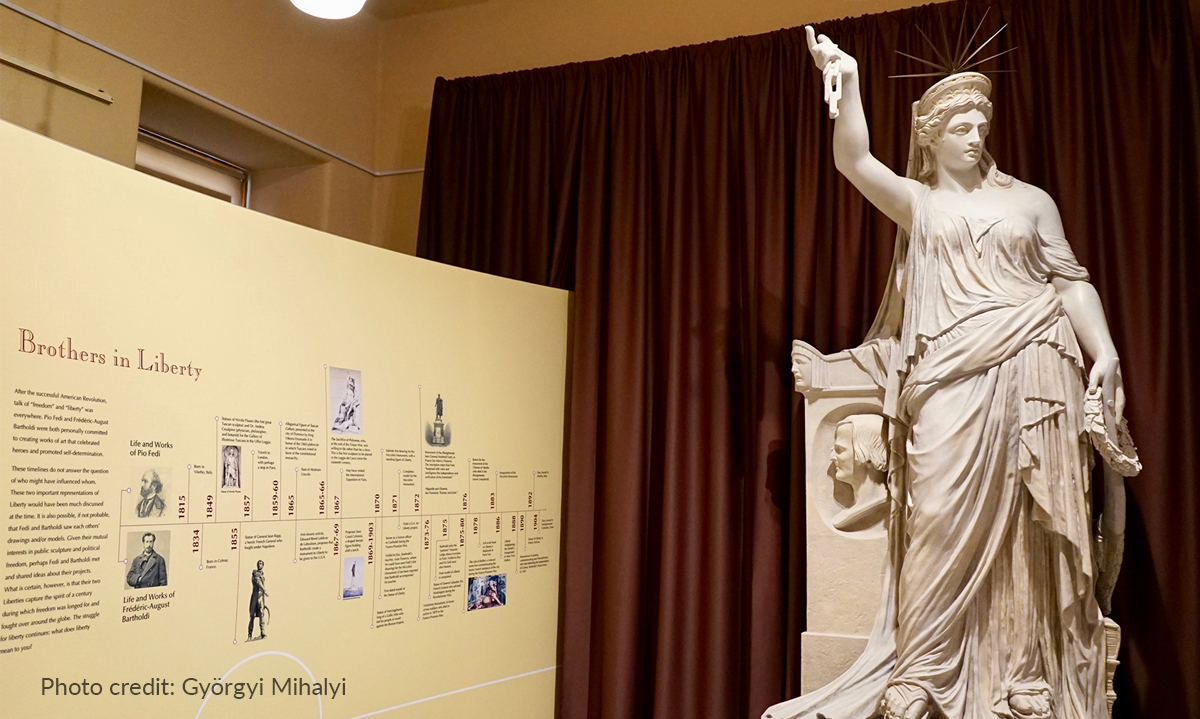
Created by Kent State University, in collaboration with the Opera di Santa Croce of Florence, Italy, the Sisters in Liberty exhibit explores the long-standing cultural ties between Italy and the United States through themes of art, architecture, liberty, poetry and the human condition. One of the focal points of the exhibit are two statues that captured the dream of self-determination, democracy and liberty that flourished around the world after the American Revolution: Pio Fedi’s 1883 Liberty of Poetry, which stands in the church of Santa Croce in Florence, Italy, and Frédéric Bartholdi’s Statue of Liberty, which was inaugurated in New York in 1886. As a part of the exhibition, Kent State University produced a nearly life-size reproduction of the Liberty of Poetry statue, but they needed someone to paint it. That “someone” ended up being me. Below, I share my process for prepping, priming and painting the 3D-printed statue.
In May 2019, I became involved in the Sisters of Liberty project through complete serendipity. I was talking with J.R. Campbell, Executive Director of the university’s Design Innovation Initiative & Innovation Hub, to get advice and help in implementing VR/AR into the theatrical design process. During that conversation, J.R. told me about a project that Josh Talbott (IT) and Dr. Robert Clements (biology/neuroscience) had been working on where they had 3D-scanned the Liberty of Poetry statue in Florence, Italy and were going to 3D print it. Intrigued, I innocently asked, “who is going to paint it?” And just like that, I was on the project.
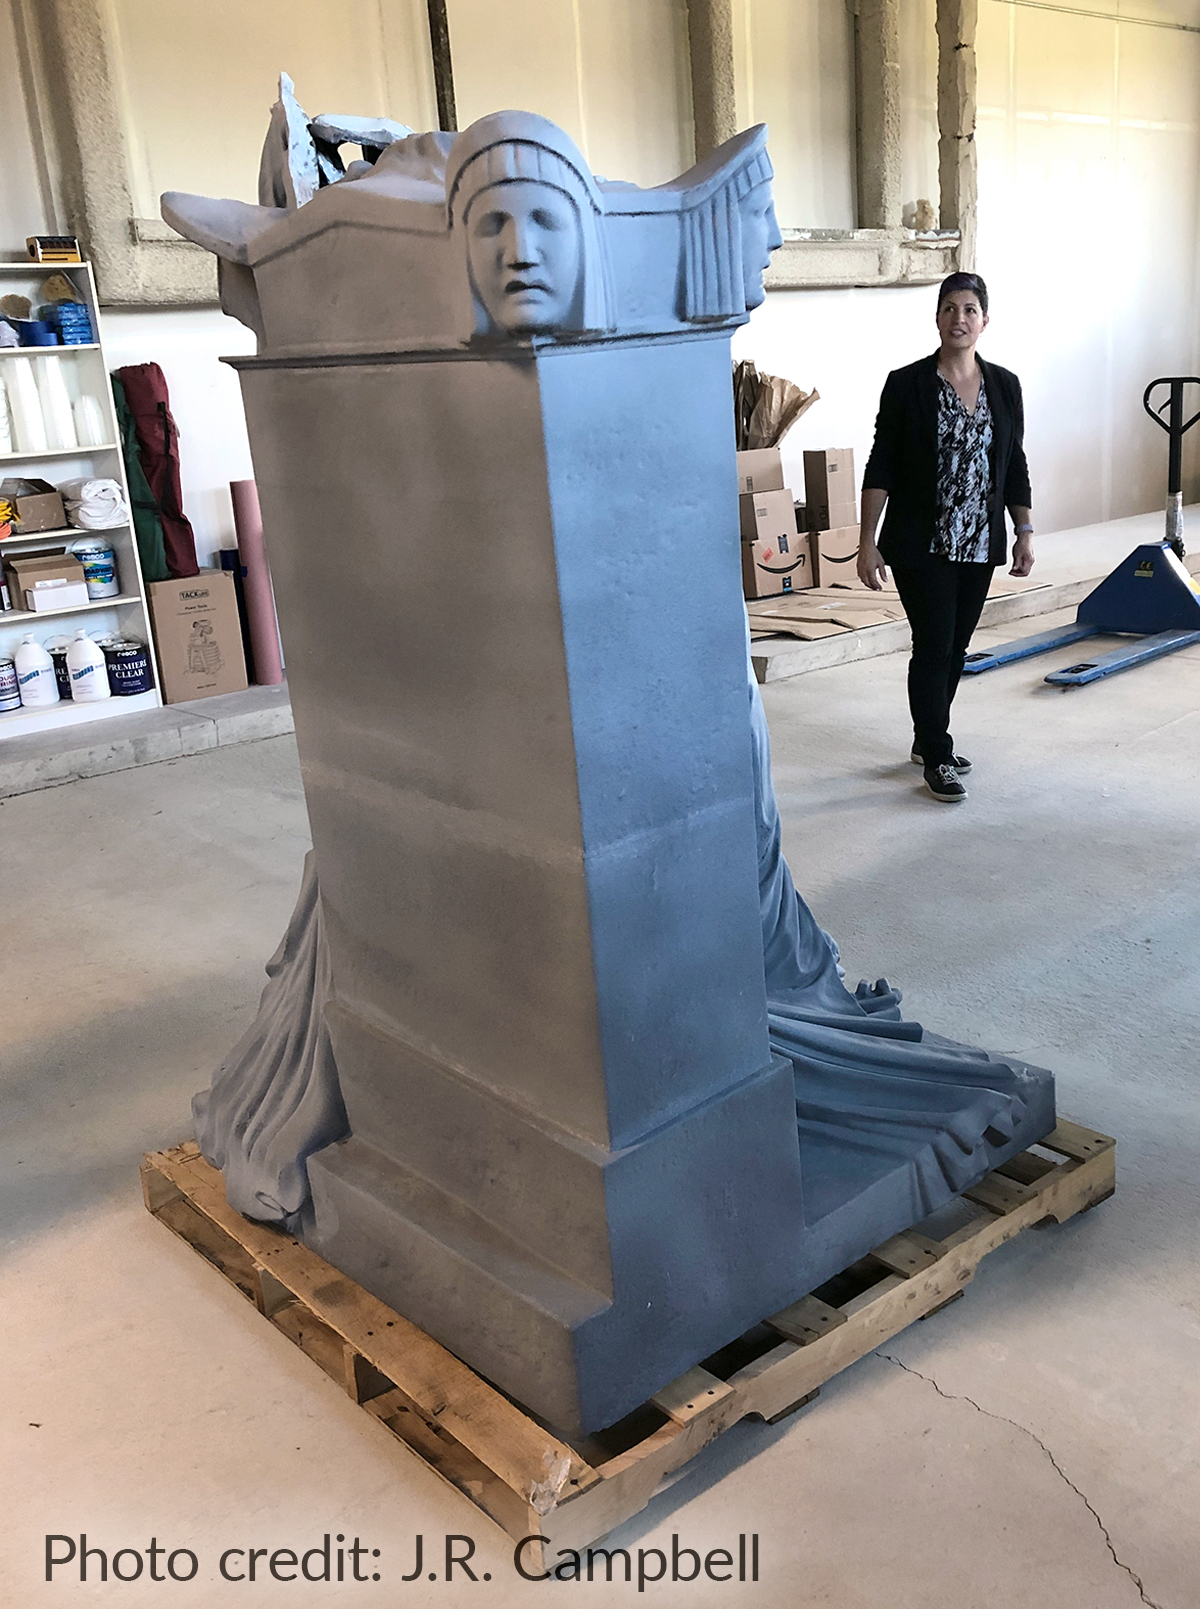
 Delivery of the first part of the statue to Kent State University. (L-R: Tammy Honesty, Josh Talbott, Rich Wetzel, Christopher Tomko, and Jim Blank)
Mr. Talbott and Dr. Clements stitched together their 140+ scans to create a 3D computer model, a Z-brush artist touched up the imperfections, then they had Freshmade 3D, a 3D printing company in Youngstown, Ohio, print it at 80% scale. The company, which specializes in large-scale 3D printing, uses a proprietary material called Amclad®. It is an extremely strong, concrete-like substance once it is coated with epoxy. The final statue was printed in over thirty pieces, that were assembled into four sections for transportation and installation – two very large pieces and two “doors” for accessing internal armature connection points.
 Having never worked with the Amclad material, I had no idea how to paint it. Jenny Knott, Rosco’s Scenic Paint and Coatings Product Manager, was incredibly helpful. She sent me a wide variety of Rosco scenic product samples that I could experiment on the Amclad with. Ultimately, the statue, and the eight items for the museum display cases, were all painted with Rosco products.
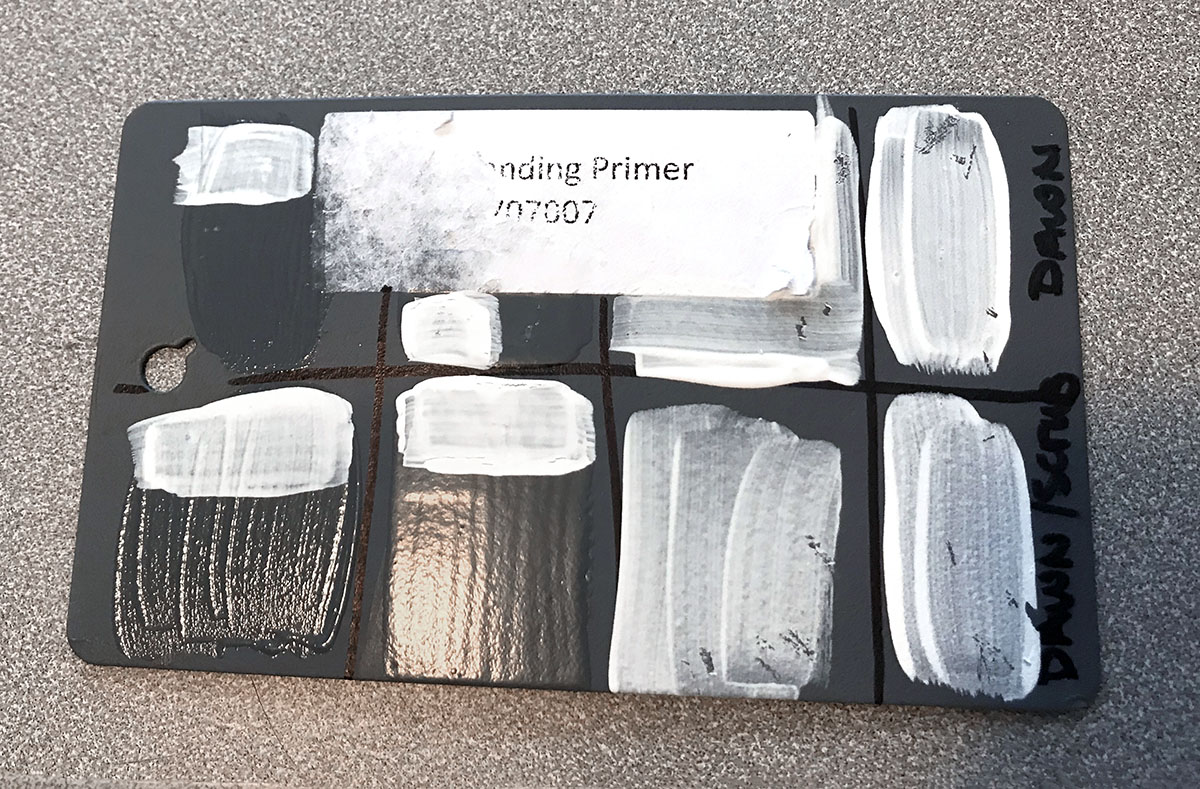
I began my testing by experimenting with samples. The first sample I received from Freshmade 3D to work with a small piece of metal, about the size of an index card, with their epoxy coating applied to it. Using the sample products, I determined that, after thoroughly washing the surface twice, Rosco FlexBond™ was the most effective primer coat on top of the epoxy coating.
 In order to avoid brush strokes, the FlexBond was brushed on, then stippled with a chip brush. After the FlexBond had dried completely, two base coats of Rosco Tough Prime™ White were stippled with a chip brush. I found that the first coat of Tough Prime needed to be fully dried before applying the second coat, otherwise the second coat would pick up the first coat. Knowing that the statue was going to be in a public venue, we also added Roscoflamex™ PA flame retardant paint additive to our final coat of Tough Prime.
Now I needed to figure out what color to paint the statue. It turns out that the original statue in Opera di Santa Croce was in the process of being cleaned.
 Restoration crews work to clean the original Liberty of Poetry statue.
I had several email conversations with the museum’s directors and historians and they sent me photos of the newly cleaned and restored statue. Fun fact: they were excited to find original pencil marks from Pio Fedi underneath the grime and dust that had survived the past 130 years! This connection allowed me to send them photos of my samples. The team in Florence was integral to my process of replicating the color of the Carrara marble used to carve the original.
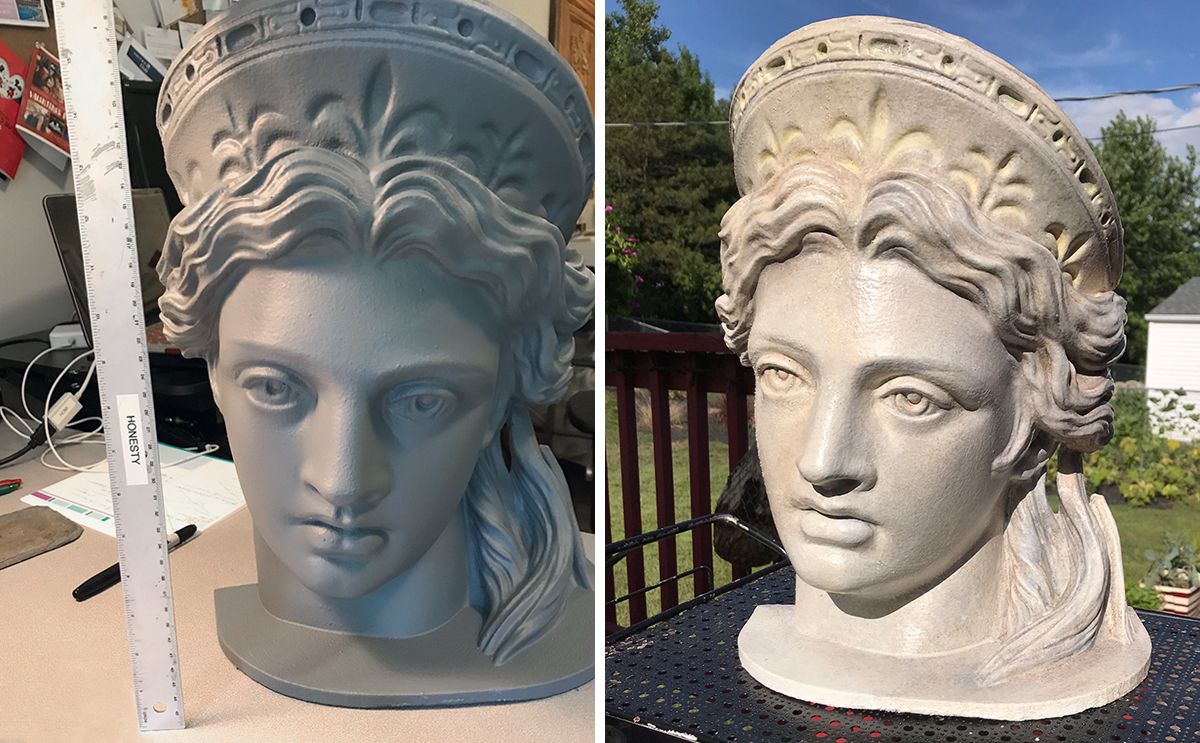 Sample head – unpainted (L) and painted (R)
I also consulted with my friend Karen Maness, who is one of the leading scenic artists in the US, a principal instructor at The University of Texas at Austin, and co-author of the book, The Art of the Hollywood Backdrop. Karen believes that what makes marble look realistic is making sure there are both warm and cool translucent layers. Having seen the photos from Santa Croce, that was going to be my initial approach to the project, so it was nice to hear Karen’s advice supporting my strategy.
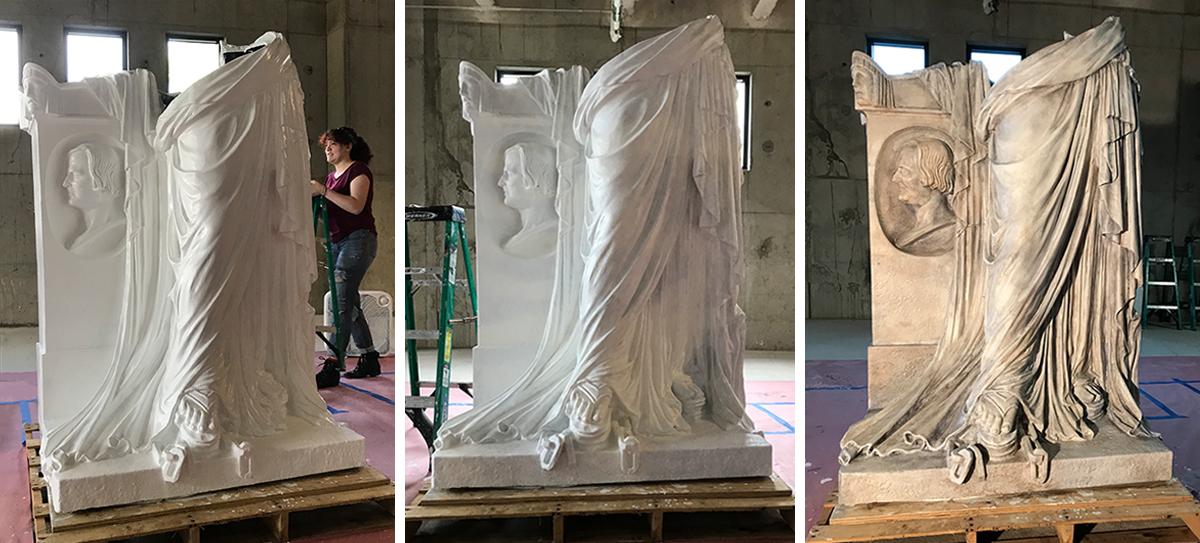 Fig A.) Tough Prime, B.) Payne’s Gray + Raw Sienna Scumble, C.) Burnt Umber/Raw Sienna Scumble Glaze
I created four colors of translucent glazes created by mixing Rosco Off-Broadway™ Scenic Paints together with Rosco Premiere Clear™ Gloss. The first layer was a scumble of OB White tinted with Payne’s Grey, and OB White tinted with Raw Sienna. Once that dried, a Burnt Umber-Raw Sienna glaze was scumbled and stippled on the surface.
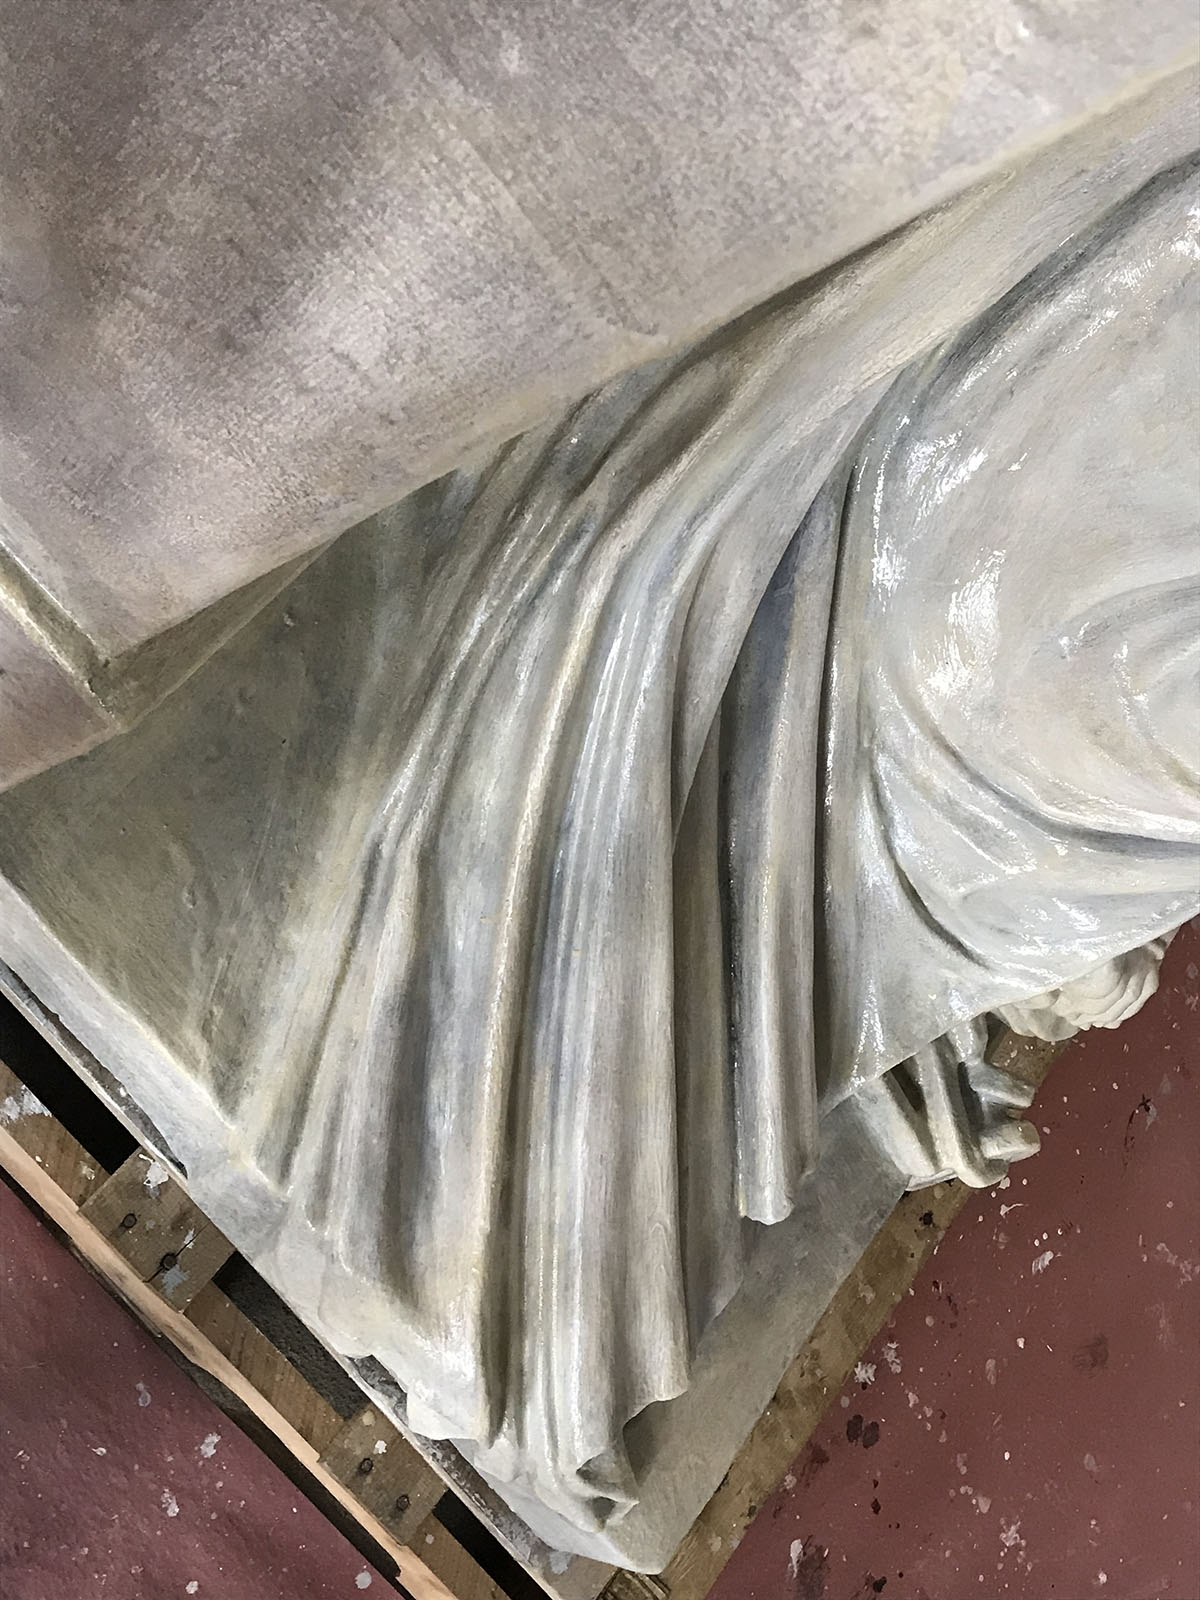 The next step was to accentuate the folds and crevices by stippling with a Payne’s Grey glaze and a Burnt Umber-Van Dyke glaze. The high points were wiped away with a shop towel, then emphasized with two Premiere Clear™ Gloss glazes. One glaze had a mix of OB White tinted with Raw Sienna, and the other had OB White tinted with a mix of Payne’s Grey and Raw Sienna.
The final step to bring it all together was a stippling of the first layer colors. The durability and depth of color that the Premiere Clear™ sealer added to the glazes was remarkable.
Typically, I find that using a gloss sealer as the final coat brings out the depth of colors that have been layered. In the sample, the Rosco Premiere Clear Gloss did just that. However, based on advice from Rachel Keebler, co-founder of Cobalt Studios, I also tried a sample using car wax as the sealer, which ended up providing a beautifully sealed surface that looked like polished stone. This was the only aspect of the project where we didn’t use a Rosco product.
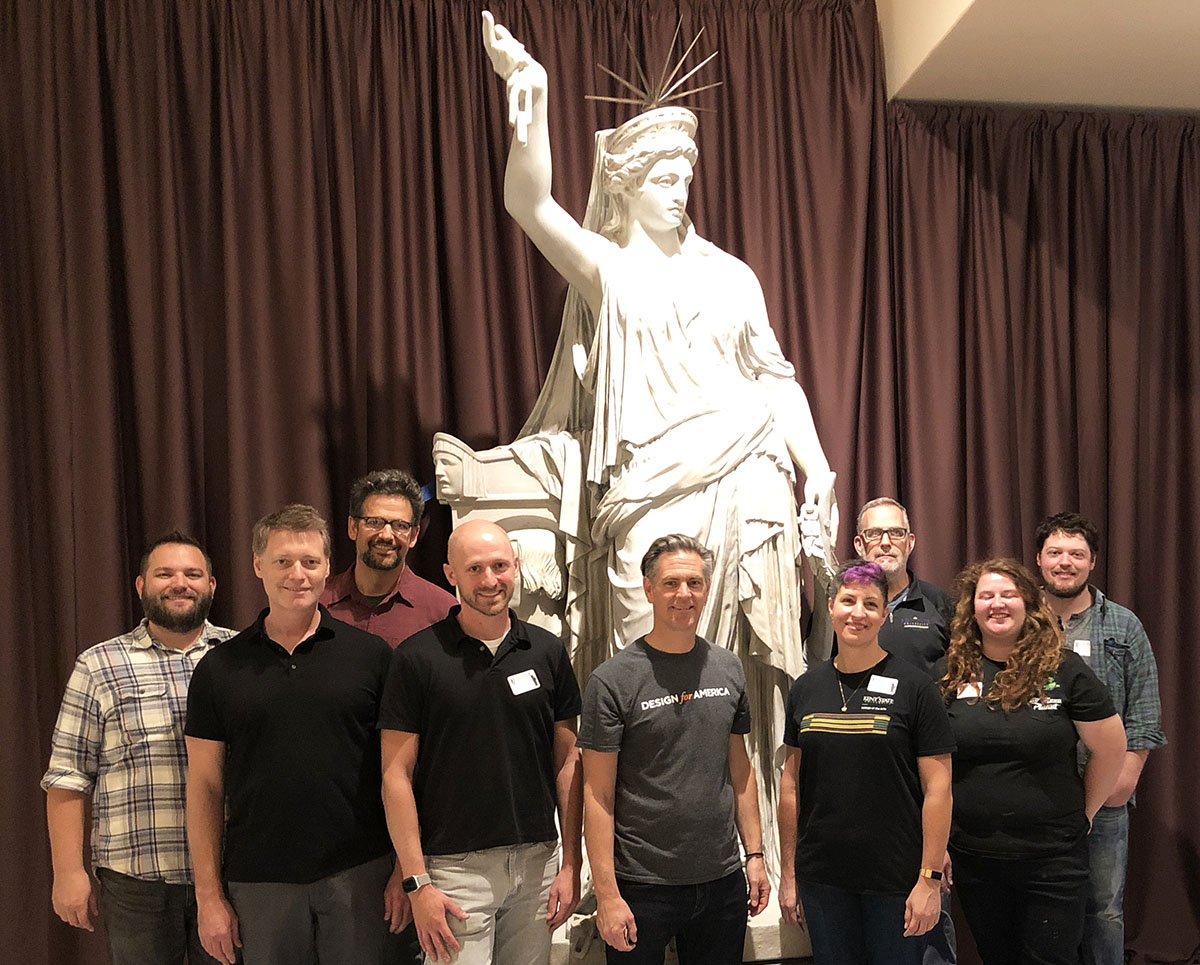 The Sisters in Liberty Install Team with the final statue inside the Ellis Island National Museum of Immigration.
The 3D-printed Liberty of Poetry replica and the additional 3D-printed replicas for the other museum display case took close to 200 person-hours to paint and install. The Kent State student paint team included Tetta Askeland, Emma Hisrich, Samantha Catone, Brian Seckfort and Travis Williams, along with Alex Barnhart and Steve Sawicki who created and painted the display risers. The installation team included J.R. Campbell, Josh Talbott, Rob Clements, Tetta Askeland, Alex Barnhart, Steve Sawicki, and me. The students and I were responsible for caulking and blending the paint on the seams once it was installed. We used Alex® Plus paintable caulking to fill the seams onsite once the statue had been assembled.
 The Sisters in Liberty exhibit will be on display at the Ellis Island National Immigration Museum through April 26, 2020. [Update - the exhibition has been extended through the summer of 2020.] For more information about the exhibit and the innovative collaborative project, please visit listeningtoliberty.com. If you would like to learn more about the products we used to prime and paint the 3D printed replica of the Liberty of Poetry statue, explore the Scenic Products page and the Scenic Paints page on the Rosco website: www.rosco.com.
Tammy Honesty January 23, 2020 Questions?

Tammy Honesty is an award-winning, USA Local 829 Scenic Designer, a Scenic Artist and an Associate Professor of Scenic Design at the Kent State University School of Theatre and Dance. Her work, both as a working scenic and as an educator, gives her license to experiment with new techniques - which she often shares here on the Rosco Spectrum blog.